Introduction
Let’s get you started with Fasten Connect! This guide will walk you through the process of setting up your Fasten Connect account, configuring your API credentials, and requesting a patient’s medical records. You’ll need API keys, which you can receive by signing up in the Developer Portal.Quickstart Repo
We also have a NodeJS Quickstart repo available for customers that would like to jump straight into the code.
Fasten Connect API Modes
The Fasten Connect API has two modes:test and live. Test mode is used for development and testing, while live mode is used for production.
Test mode secret keys have the prefix private_test_ and live mode secret keys have the prefix private_live_.
- Test Mode
- Live Mode
| API Key Prefix | Description |
|---|---|
public_test_ | Test mode client-side key that uniquely identifies your app |
private_test_ | Test mode server-side key allows you to make authenticated requests. Must be kept secret |
Create API Credentials
- Sign up for a Fasten Connect account in the Developer Portal.
- Click the Developer tab and then the
Create Credentialsbutton. You must provide aRedirect URL, which is the URL that Fasten Connect will redirect the user to after they have successfully linked their account.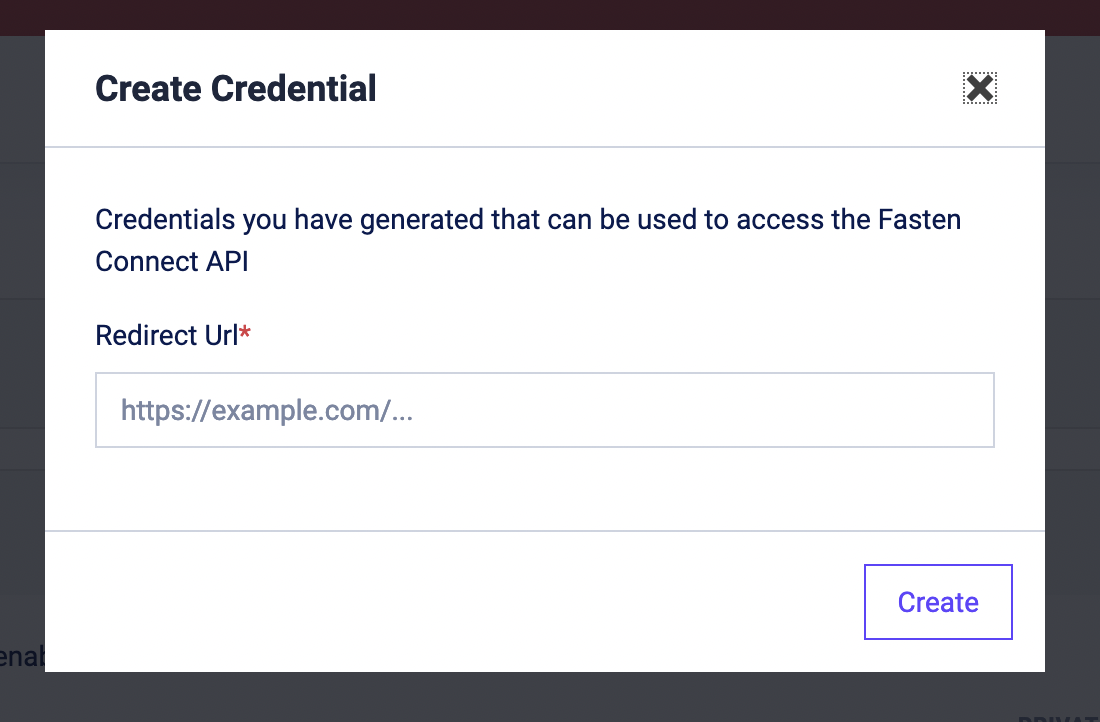
- Make note of the public id and private key generated for you.
The private key is only shown once, so make sure to save it in a secure location.
Webhook Configuration
- In the Developer Portal, click the
Create Webhookbutton. You must provide aWebhook URL, which is the URL that Fasten Connect will send events to.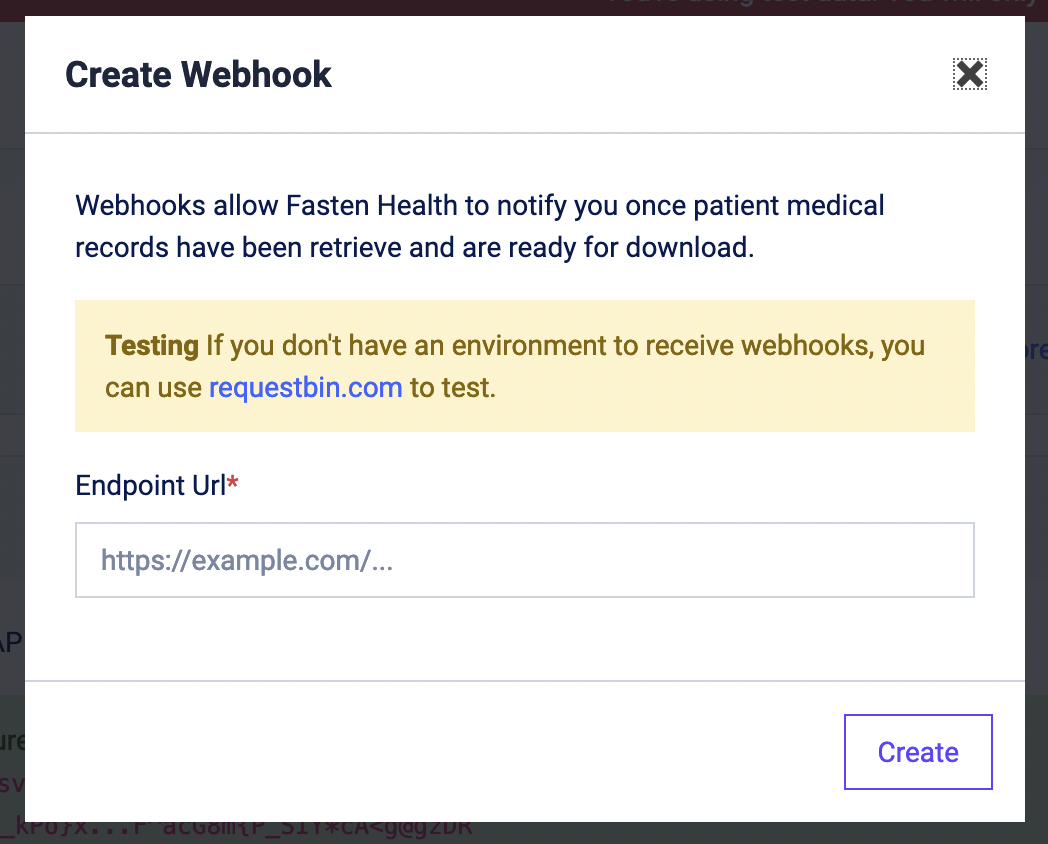
Fasten Stitch configuration
Fasten Stitch is the client-side component that your users will interact with in order to link their accounts to Fasten Connect and allow you to access their accounts via the Fasten Connect API. To get started, you’ll need to add the Fasten Stitch component to your website. You can do this by adding the following code snippet to your website’s HTML. Replacepublic_test_123456324234234 with your own public key, which you can find
in the Developer Portal.
stitch.js
fasten-stitch-element HTML element will render a button that your users can click to link their accounts to Fasten Connect.
Initial Connection
When the user clicks the button, they will be shown a search box and being the process to authenticate and authorize your app to access their data.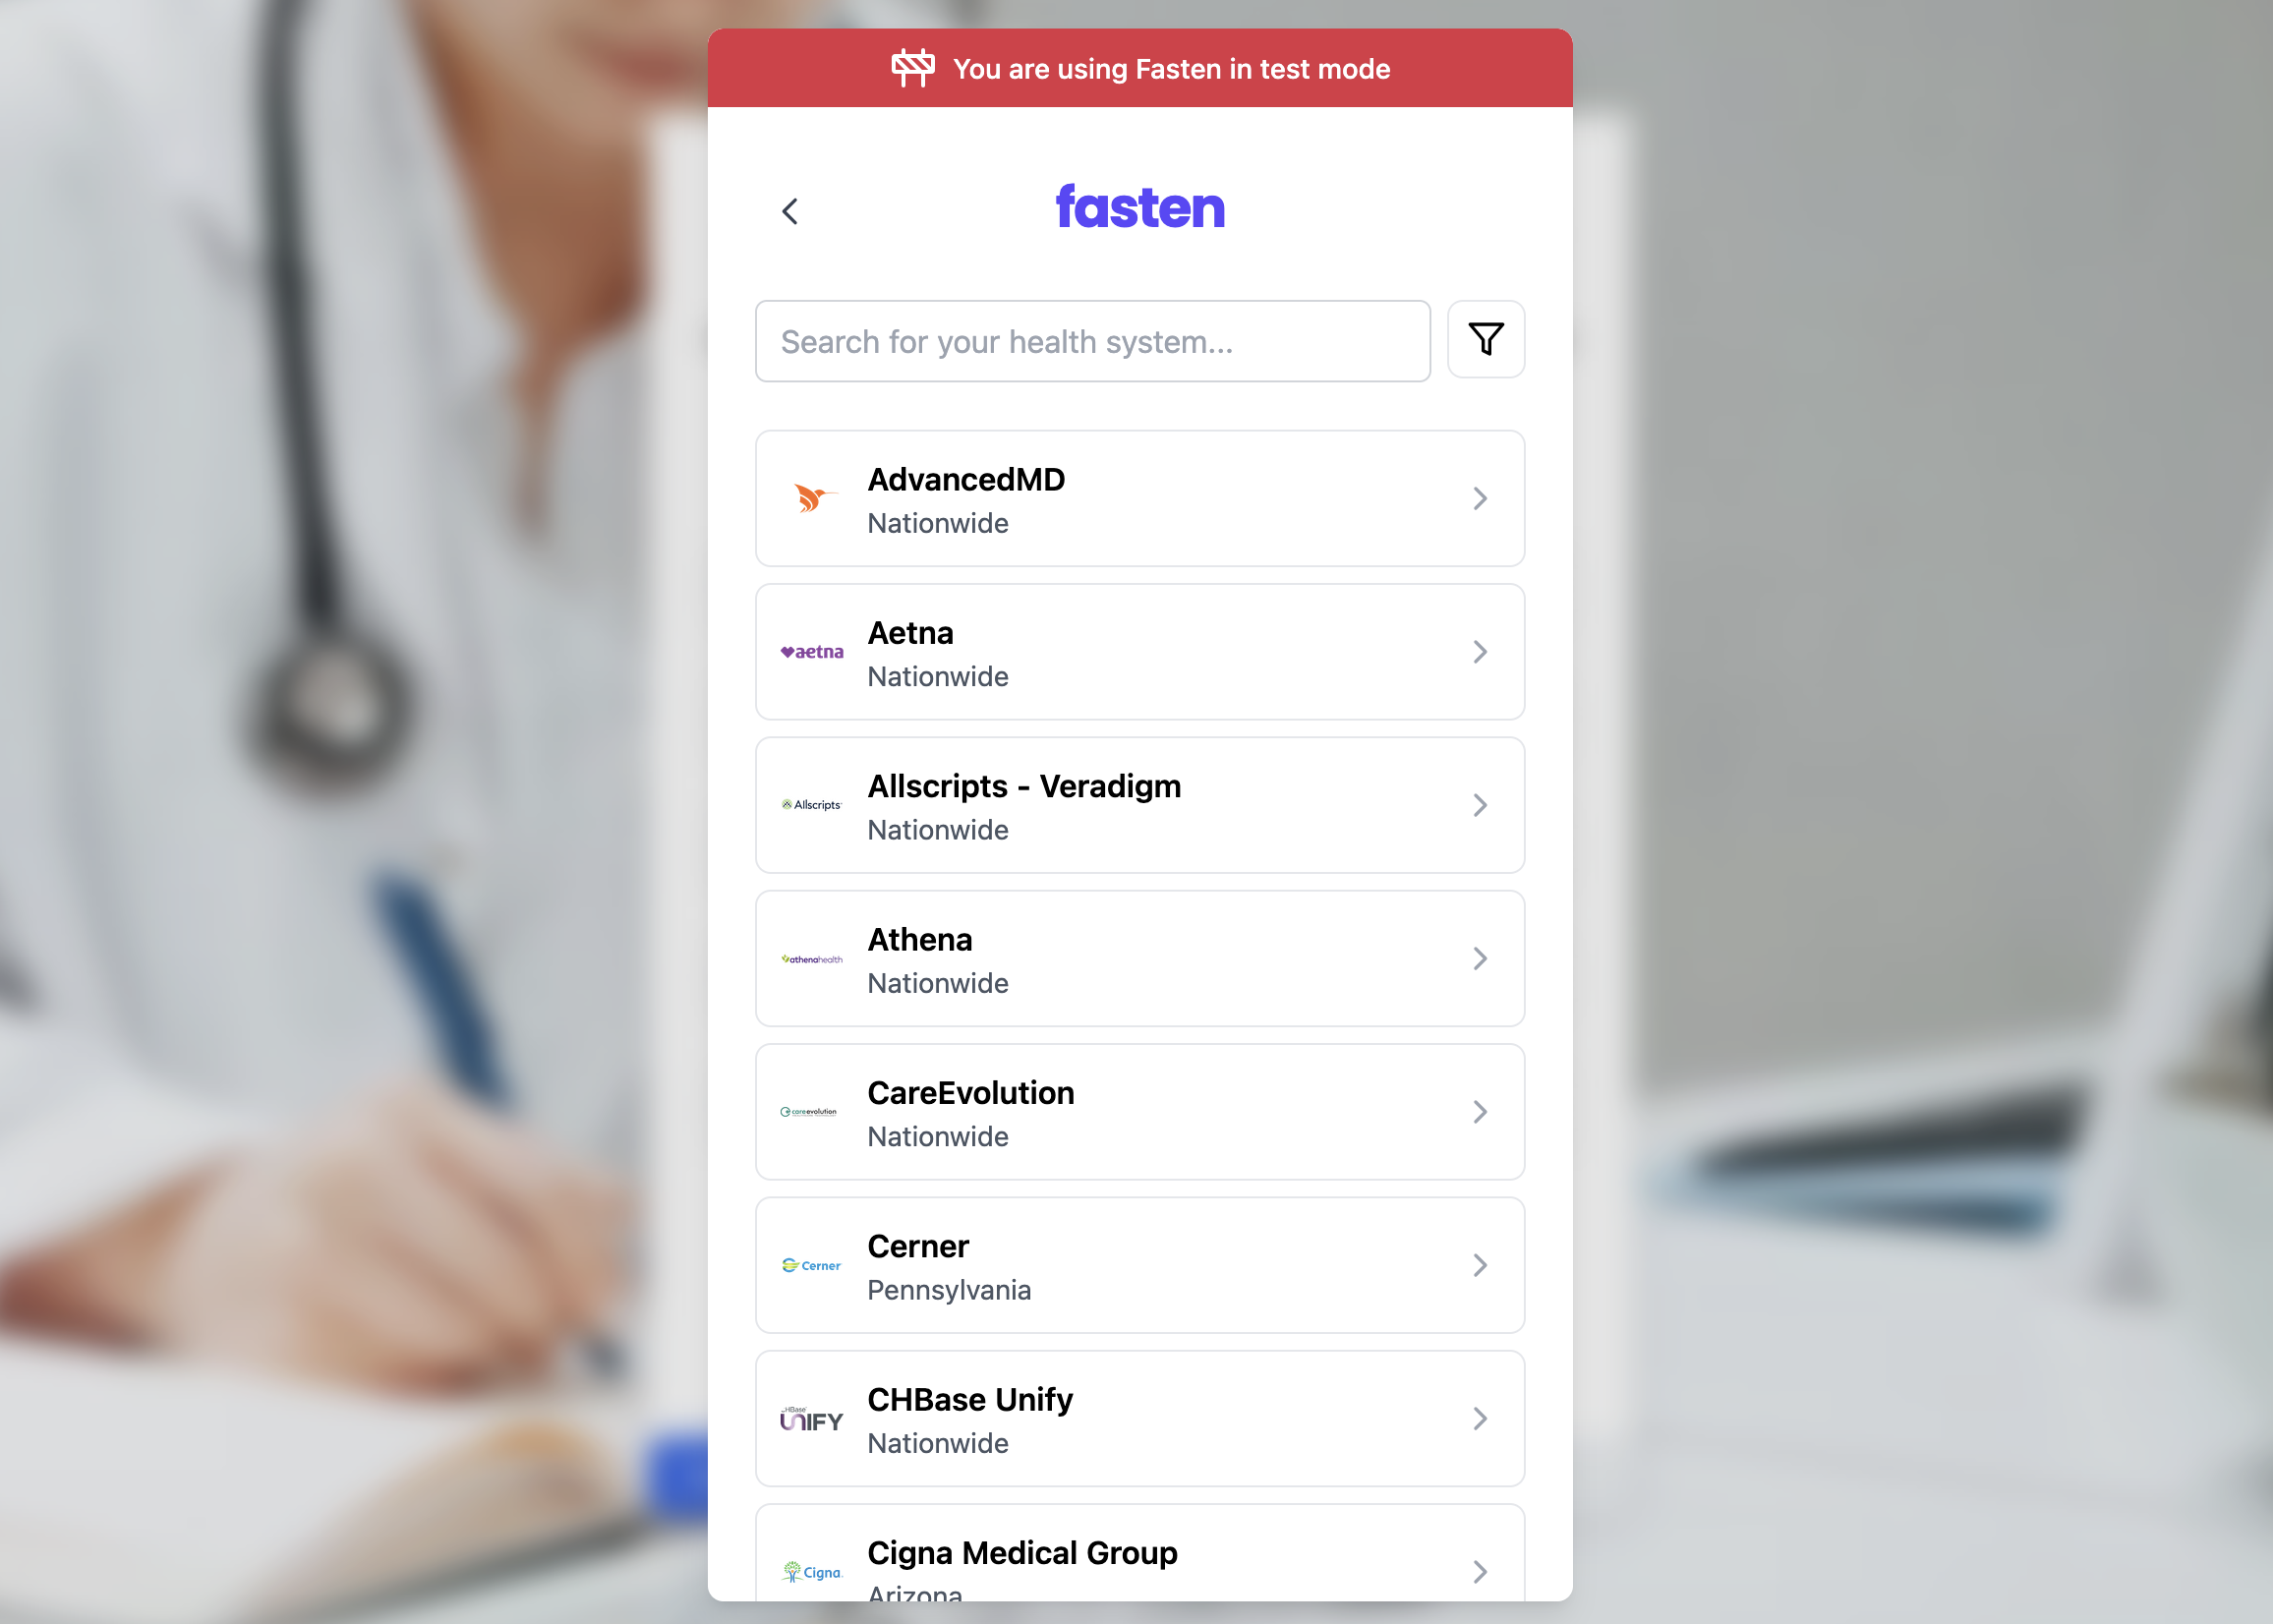
Redirect to Patient Portal
After selecting health system, and clicking “Sign In” you will be redirected to a patient portal where you can login with patient credentials (username + password).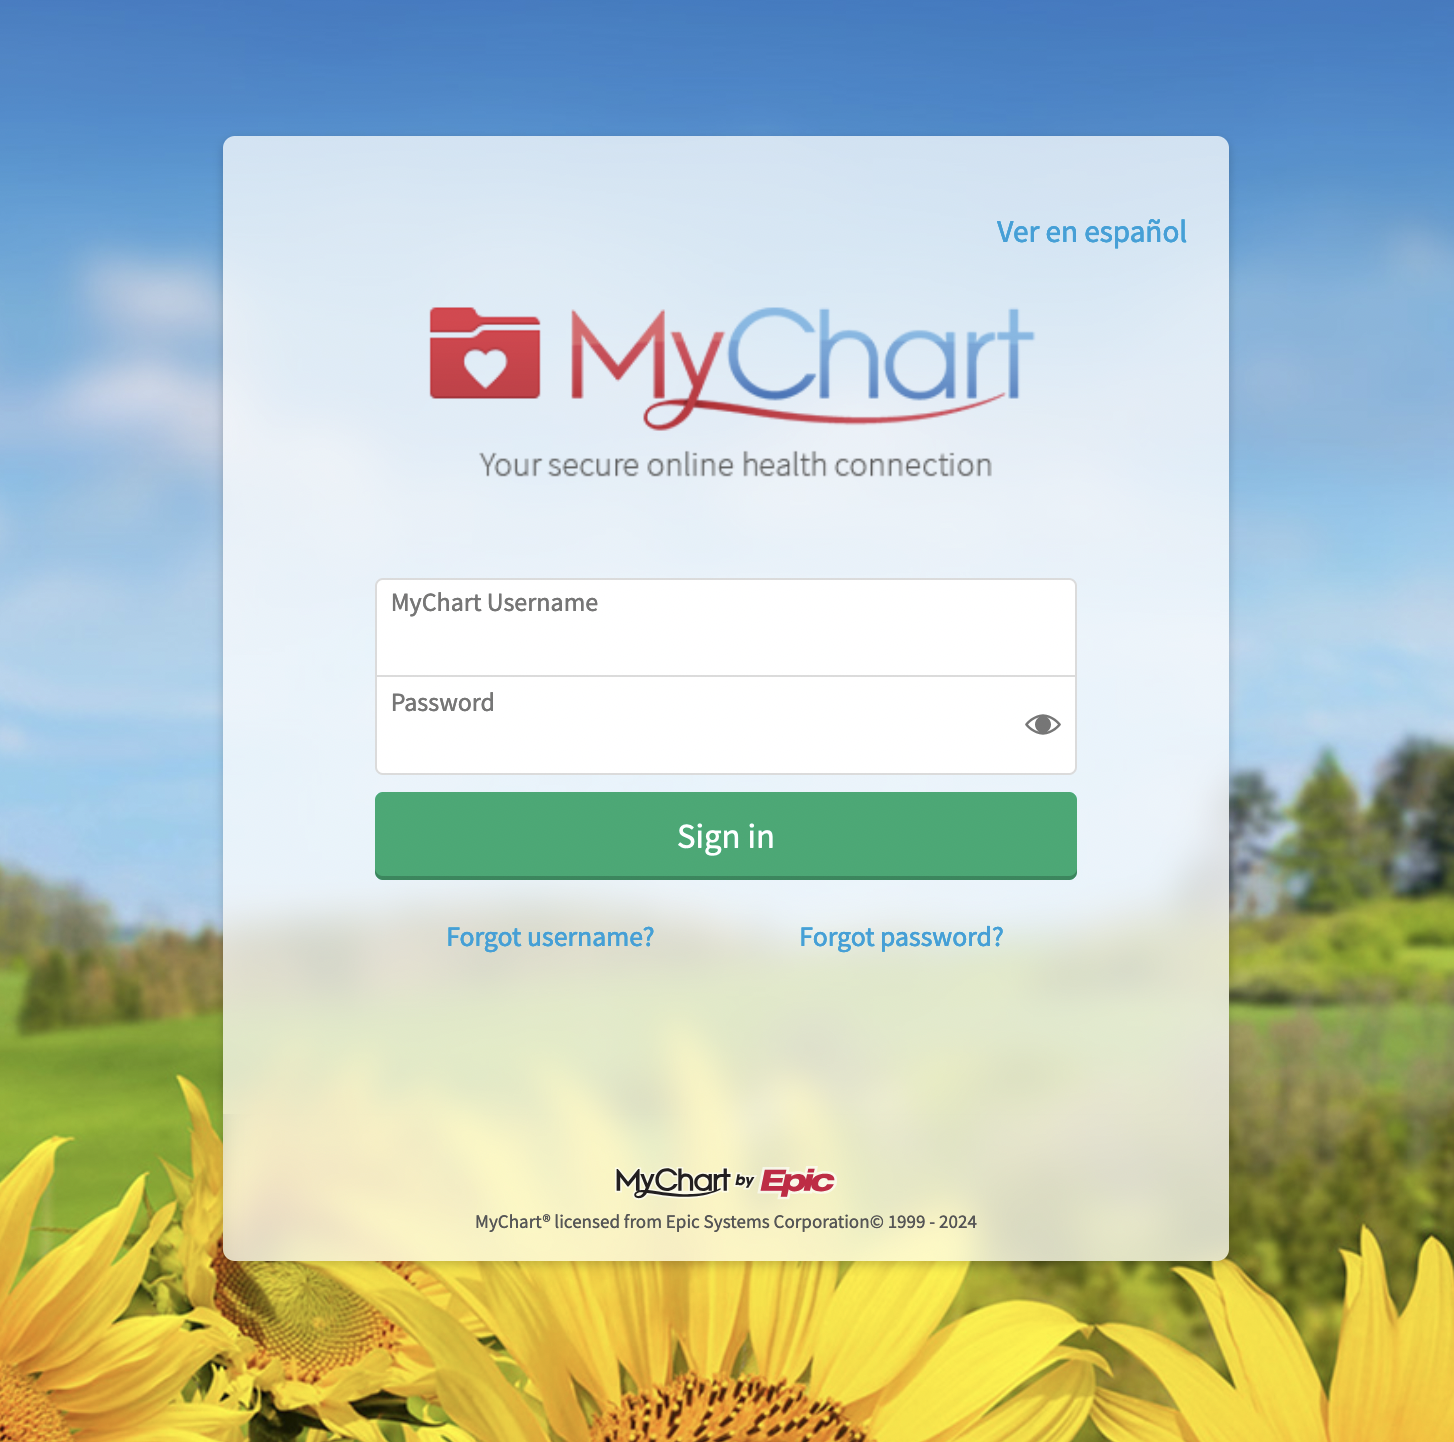
Test Patient Credentials
Intest mode, you can use the following credentials to test the Fasten Stitch component:
Test Credentials
Test Credentials
| Source | Credentials / Sandbox Status | Link |
|---|---|---|
| AdvancedMD | Username: Password: | |
| Aetna | Username: VTETestUser01 Password: FHIRdemo2020 | test accounts |
| AllScripts | Username: Password: | |
| Anthem | Username: HOSPatient Password: HOSPatient2023 | |
| AthenaHealth | Username: phrtest_preview@mailinator.com Password: Password1 | test accounts |
| CareEvolution | Username: CEPatient Password: CEPatient2018 | test accounts |
| Cerner | Username: nancysmart Password: Cerner01 | test accounts |
| Cigna | Username: syntheticuser05 Password: 5ynthU5er5 | test accounts |
| DynamicHealthIT | Username: Password: | |
| eClinicalWorks/Healow | Username: AdultFemaleFHIR Password: e@CWFHIR1 | test accounts |
| Epic | Username: fhircamila Password: epicepic1 | test accounts |
| Flatiron/OncoEMR | Username: Password: | |
| HealthIT | Username: demouser Password: Demouser1! | test accounts |
| Humana | Username: HUser00001 Password: PW00001! | |
| Kaiser | Username: Pvaluser1 Password: V@lidation1 | |
| Logica | Username: Password: | |
| MaximEyes | Username: Password: | |
| Medhost | Username: Password: | |
| Medicare | Username: BBUser00000 Password: PW00000! | test accounts |
| Meditech | Username: Password: | |
| Netsmart | Username: Password: | |
| NextGen | Username: patientapitest Password: Password1! | test accounts |
| PracticeFusion/PatientFusion | Username: Password: | |
| VA Health | Provider: ID.me Username: va.api.user+101-2024@gmail.com Password: Password12345!!! | test accounts |
fasten-stitch-element will generate a javascript event containing
information about connection. This payload will contain a org_connection_id identifier that
you can use to make requests to the Fasten Connect API.
Parse Stitch.js Javascript Event Payload
Connection events will be sent to your frontend code via Javascript events. The events can be handled by modifying theeventBus event listener in the code snippet above.
widget.complete Event
data.org_connection_id fields by sending it to your backend, as it is required for subsequent requests
to the Fasten API to request medical records for this individual patient.
You may also want to store the other fields for future reference, such as endpoint_id, brand_id, portal_id and platform_type.
Requesting Patient Bulk Export
Fasten Connect allows you to request a bulk export of a patient’s medical records. To do this, you’ll need to make a POST request to the/bridge/fhir/ehi-export endpoint with the org_connection_id of the patient whose records you want to export.
Request to the /bridge/fhir/ehi-export endpoint must be authenticated with your private key. Here’s an example using curl:
curl
Async Webhook Event
When the export is complete, Fasten Connect willPOST a webhook event to the URL you provided when creating the webhook.
The event will contain the task_id and the download_links of the export that was completed.
webhook-event.json
Downloading the Export
Once you recieve the webhook event, you can use thedownload_links to download the export. The export will be a JSONL file
containing the patient’s medical records in FHIR format.
curl
View Patient EHI Export Example
Click here to download an example EHI Export file in JSONL format. It was previously generated via the Fasten Connect API and contains medical records from the Epic Sandbox in FHIR format.
Click here to download an example EHI Export file in JSONL format. It was previously generated via the Fasten Connect API and contains medical records from the Epic Sandbox in FHIR format.
TEFCA Mode
Now that you have completed the Quickstart Guide you can (optionally) enable TEFCA-mode with a single line change.TEFCA IAS Developer Guide
When TEFCA mode is enabled, developers can access medical records without requiring the patient to search for their healthcare providers, or login to multiple portal logins.Instead the patient is prompted to verify their identity and Fasten Connect will automatically retrieve their medical records from any healthcare institution that participates in the TEFCA network.